DONT GO DARK Level Difficulty Tier List
Community-style S–C ranking of Line Zero through The Swamp—scare, timing, and how often greed gets punished.
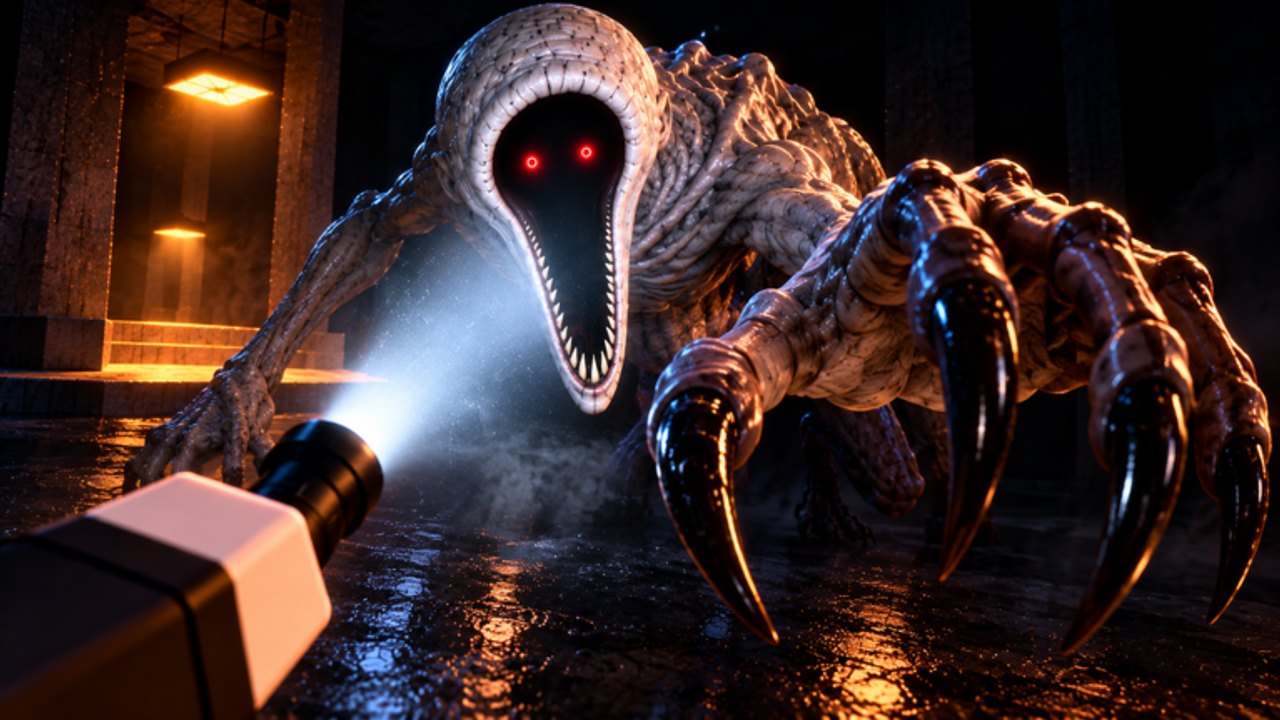
This Tier List Hub ranks the six DONT GO DARK levels by how hard they punish mistakes—not by lore spoilers. YO Productions built a Roblox survival horror runner where every stage teaches the same law (STAY IN THE LIGHT) with different pressure curves. Use the list after you have real attempts logged via Getting Started and Levels Walkthrough.
Ranks blend scare intensity, timing demand, and beginner wipe rate. Your personal order may differ; that is expected. Re-rank after patches noted on Latest Patch Notes.
Quick board (November 2026)
| Tier | Levels |
|---|---|
| S | The Swamp, The Collapsing Depot |
| A | The Freezer |
| B | Substation K, Tidewater Aquarium |
| C | Line Zero |
S tier — endurance and commitment checks
The Swamp
Long dark beats, murky sightlines, and psychological fatigue put The Swamp in S. The map rarely needs a single impossible jump; it needs calm lamp-to-lamp discipline when your nerves want hero brush routes. Players who only practiced Line Zero diagonals melt here.
Why S: sustained darkness + tempting unsafe shortcuts.
Survive tip: segment goals; see How to Survive.
The Collapsing Depot
The Collapsing Depot earns S for timing. Hesitation mid-failure and screenshot stops wipe stacks faster than raw jumpscare volume. In 10-player pubs, simultaneous crossings turn hard into chaotic.
Why S: moving failure states + crowd pathing.
Survive tip: pre-aim the landing light before the section starts (Controls help keep facing honest).
A tier — panic examiner
The Freezer
The Freezer sits in A because fear sprints override literacy. Corridors look readable until adrenaline deletes your pad stops. Veterans clear it consistently; beginners over-sprint past alcoves.
Why A: scare-driven input errors more than cryptic geometry.
Survive tip: force one planted stop per hallway using the panic protocol.
B tier — skills with room to breathe
Substation K
Industrial chokepoints and gray doorframes define Substation K. It is harder than Aquarium for spacing, easier than Freezer for raw scare. Doorframe lingering is the signature death.
Why B: tight spaces, solvable with patience.
Survive tip: plant deeper inside lamps; wait out body blocks.
Tidewater Aquarium
Tidewater Aquarium teaches sightlines. Distraction deaths (tank tourism) inflate wipe stats for brand-new players, but the lighting language is fair once you scan side lamps.
Why B: readable once you stop sightseeing.
Survive tip: call next light before mid-hall sprints.
C tier — literacy lab
Line Zero
Line Zero is C by design—it is the classroom. Still deadly if you greed, but failures are lessons, not wall checks. Master pad stops here or every higher tier feels “broken.”
Why C: intended onboarding difficulty.
Survive tip: clear once with zero optional dark cuts (Getting Started).
How we ranked (method)
- Scare pressure — how often fear causes bad inputs.
- Timing / motion — collapsing or forced-move sections.
- Sightline honesty — whether lamps telegraph well.
- Pub tax — how badly 10-player crowds amplify mistakes.
- Recovery — can you reset to a nearby light after a scare?
We ignore cheat clears. Injected Fullbright paths are not data (Scripts Hub).
Alternate axes you can track
| Axis | Likely top threats |
|---|---|
| Pure jumpscare | The Freezer, The Swamp |
| Mechanical timing | The Collapsing Depot |
| Crowded pubs | Depot, Substation K |
| First-hour confusion | Line Zero (until literacy clicks), Aquarium distractions |
Solo vs squad changes feel—read Players Hub before you swear a map is “impossible.”
Using the tier list without tilting
- Do not jump from C straight into S “for content.”
- After two honest attempts, update your board; one rage wipe is noise.
- When YO Productions retunes darkness, check Updates Hub before arguing ranks in Discord.
- Prep with the Tools Hub checklist so device issues do not fake a tier bump.
Related pages
- Levels Walkthrough — route notes per map
- How to Survive — universal light rules
- Guides Hub — full tutorial list
- Official Links Hub — play DONT GO DARK and YO Productions community
Ranks are guides, not gospel. Clear Line Zero cleanly, earn your Freezer scars, and treat The Swamp as a final exam for light discipline—not a coin flip.
Frequently Asked Questions
Quick answers for surviving DONT GO DARK.
What is the hardest DONT GO DARK level?
This hub places The Swamp and The Collapsing Depot in S tier for endurance and timing. Your scare tolerance may rank The Freezer higher.
Is Line Zero supposed to be easy?
It is the literacy stage—C tier—but greed still kills. Master pad stops there before judging later maps.
Will this tier list change after updates?
Yes. When YO Productions retunes lighting or layouts, we revisit ranks and point you to Latest Patch Notes.
Does multiplayer change difficulty tiers?
Crowded 10-player servers raise the pub tax on Depot and Substation K especially. Coordinated squads can lower effective difficulty.
Should I play S-tier maps first for fun?
Not if you want lasting improvement. Build habits on C/B maps, then climb—tilting on Swamp day one teaches less.